|
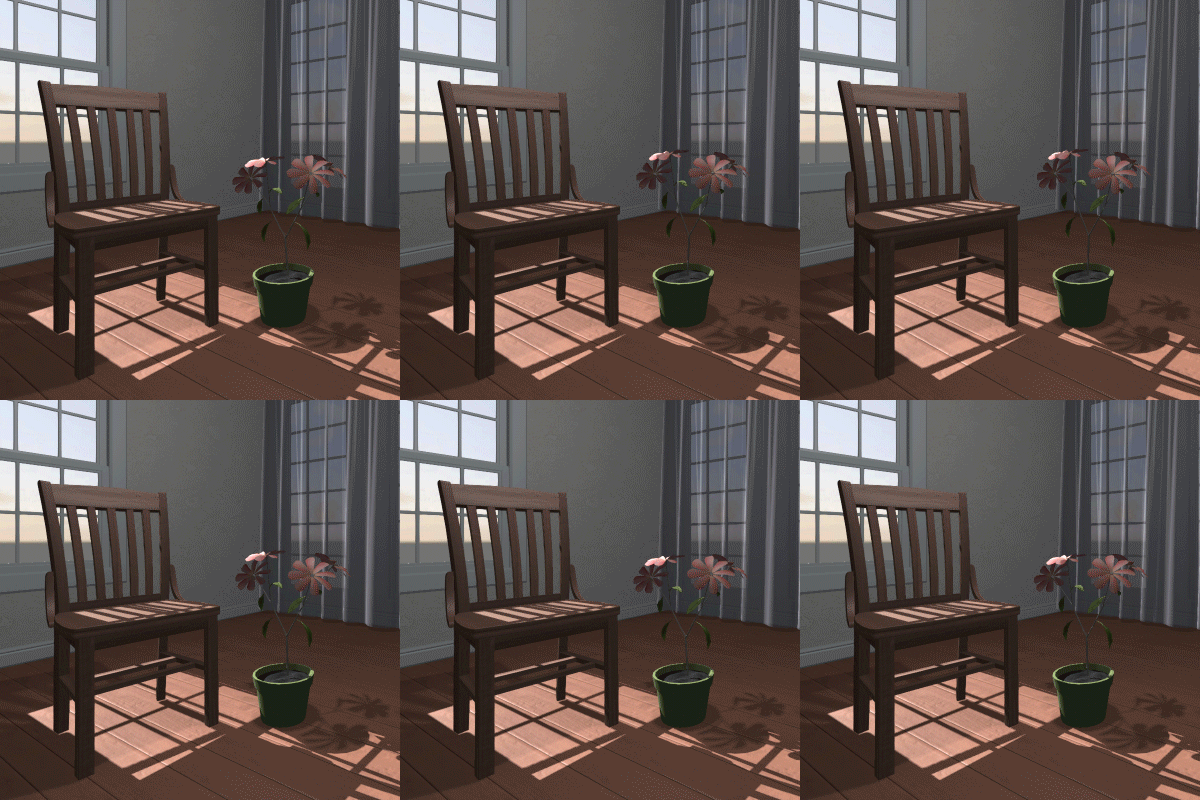
Tutorial animated Maya Ncloth curtain and blend shapes imported into Unity.
Assignment 1 by Isaiah Baiseri
In Maya: Make a curtain
Switch over to the Modeling section, choose from upper left, status line.

Create two different snaky curves in the top view.
Create->Curve Tools->CV Curve Tool-> Curve degree 3 Cubic Curve degree 3 Cubic
Move the curves apart from each other.
Select the curves.
Select Surfaces->Loft->
Choose Output geometry: Polygons
Choose Quads
Choose Tessellation method: General
Change U type to: Per span # of iso params
Change V type to: Per span # of iso params
Input Number U: 3 (If this is too jaggy, increase)
Input Number V: 3
Click Loft
Add a backside to the curtains
Choose EditMesh->Extrude
Pull out the blue arrow .1 for thickness and double sided geometry. (for Unity)
Add nCloth dynamics
Switch to theFX Module

Select the curtain
Choose nCloth->Create nCloth
Constrain the curtain to an imaginary curtain rod
Select the top row of vertices
Select nConstraint->Transform Constraint
Add wind
Select the curtain
Bring up the Attribute Editor
Arrow over to the nucleus1 tab
Under Gravity and Wind
Change Wind Speed to 4
Change Wind Direction to 1, 0, 1
Use the simulation to model a Blend Shape
Make at least 3 copies from various frames of the animation:
Hit the play arrow on the time slider to play and stop when you like a model. 
Select the curtain
Choose Edit->Duplicate Ctrl d
Choose Display->Hide Selection Ctrl h
The copies will not have any dynamics. Do this 3 times
Delete the original nCloth nucleus and curves
Use Display->Show All to show the hidden copies
Keep the 3 duplicated curtain meshes
1 will be the base shape, name this curtain
Name the other 2 curtains curtain1 and curtain2
Remove invisible nCloth nodes that mess you up in Unity:
Do this before animating if you are making a blend shape for Unity.
Select File->Optimize Scene Size->
Select Remove: Unknown nodes
Or if that did not work when you bring the files to Unity, try this:
Select one shape at a time
Select Windows->General Editors->Hypergraph: Connections
Select the light grey node
Hit delete
Close the Connection window
Repeat for each shape
Blend Shape
Switch to the Modeling or the Animation Module
 or or 
Select the first curtain (base)
Choose Anim Deform->Blend Shape
(This adds blend shapes options in the channel editor)
Select curtain1 (target), use shift to select the first curtain(base) too.
(The order is important)
Choose Anim Deform-> Blend Shape->Add
Do this again for curtain2
Delete the target curtains.
Animate the Blend Shape
Select the curtain
Open blendShape1 in the Channel Box
Animate the channel named after the second curtain between 0 and 1
The time slider should be the length of your animation.
Choose File->Save As select Desktop->Maya_Tutorial->Assets (Or the name of your Unity Project folder.) Maya scene files will transfer straight into your Unity file.
Any animated items should be separate Maya files. It will be easier to manage
In Unity:
Add your Maya File to your Unity scene
Select the Maya file in the Assets list
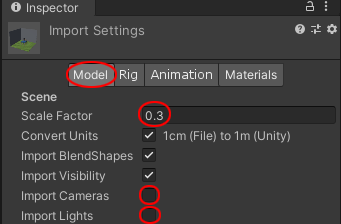
Select the Model tab in the Inspector
Change the Scale Factor to .3
Uncheck Import Cameras and Lights
Hit Apply

Drag your Maya file from the Assets list over to the Hierarchy tab.
Loop the animation
The example loops the animations continuously, no pause.
Select your Maya Model in Assets
Switch to the Rig tab in the Inspector
Change Animation Type to Legacy (default was Generic)
Hit Apply
Switch to the Animation tab
Rename Take 001 to a unique name
Select Wrap Mode Loop, twice, I don't know why twice...
Hit Apply
Select the Maya Model in the Hierarchy
Select Play Automatically in the Inspector
You can now test your scene by selecting the Play arrow.

:::::::::::::::::::::::::::::::::::::::::::::::::::::::::::::::::::::::::::::::::::::::::::::::::::::::::::::::::::
EXAMPLE
https://classes.dma.ucla.edu/Fall20/156-1/projects/examples/ncloth_blend_Isaiah_Baiseri_player

|
