|
After Effects Alpha Channels and Traveling Mattes
In After Effects:
Choose File->Project Settings...
Select Frames, this is easier to view than timecode.
Choose Composition->New Composition...
Choose Layer->New Text Type a word, adjust the size, make the text white.
Motion Sketch
Select the text with the Arrow selection tool at the top. 
Select Window->Motion Sketch, you will use this to interactively animate your type.
Click the Start Capture button
Drag your type around the Comp1 window.
Hit the arrow playback button to see your results.
Modes
View frame 1 on the Timeline.
Choose File->Import->File to bring in an image sequence or movie to mask into the type.
Make sure you are in the Project tab (Window->Project if you don't see it)
Drag your movie on to the Timeline.
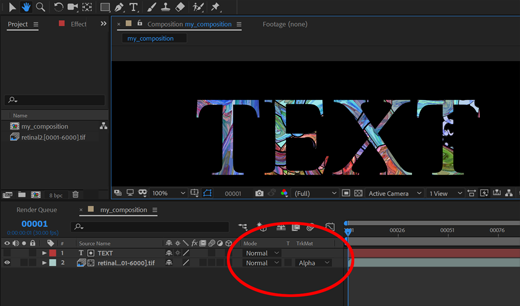
Drag it below the type, see diagram below.
Go to the Mode/Track Matte section on the Timeline. If you do not see it hold down the right mouse over Parent and add Columns->Modes. You can hide Parent.
Click and hold on the button that reads None across from the movie; switch it to Alpha Matte.
Notice the text layer is now turned off.

Complex Layers in Layers
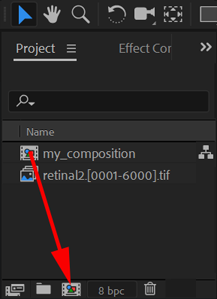
Drag and drop your text composition onto the Create a New Composition button in the Project section.
This creates a new composition, rename it distortion_composition

Select the New composition in the Project section.
Then select the composition in the Timeline
Choose Effect->Distort->Polor Coordinates
Type e to see the effect
Open the arrow and input 20% for Interpolation
Window->Project will bring the Project section back
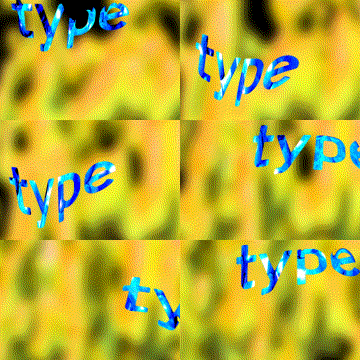
Your animated text layer is being distorted through the distortion_composition
Add an outline to the distorted text
Select the text layer in the original composition
Select Effect->Keying->Inner/Outer Key
Type e to see the effect
Change Edge Thin to -2
Export the Composition to Media Encoder
Select the composition in the Project section
Choose File->Export->Add to Media Encoder Queue...
Media Encoder will start
How to use Media Encoder to render a movie.
|
